

File Cabinet Pro version 8.8 brings a cleaner look, better browsing controls, and usability enhancements that make the app more customizable.
Here’s What’s New:
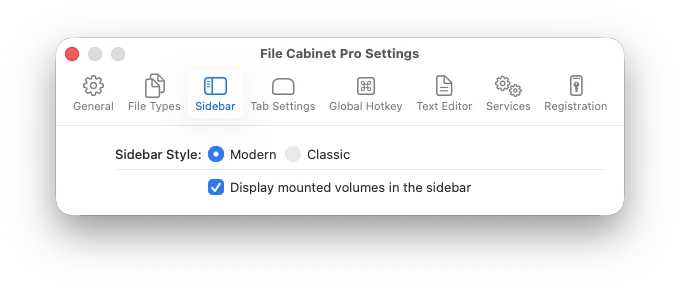
A Modern Look for the Favorites Sidebar
- The Favorites sidebar has been moved into the main window and placed on Liquid Glass by default (Liquid Glass requires macOS 26.0 or later).
- The Favorites sidebar now displays larger and better looking icon images (requires macOS 11.0 or later).
- Fans of the retro style sidebar can set the new “Sidebar Style” preference to “Classic” in app settings.


Automatic Column View Resizing
- File Cabinet Pro can now automatically resize columns in Column view to fit filenames. To enable this feature turn on the “Resize columns to fit filenames” checkbox in app settings.
Invoke “Verify Checksum” from the Toolbar
- You can now add a ‘Verify Checksum’ button to File Cabinet Pro’s toolbar. While the “Verify Checksum” feature has been included in File Cabinet Pro for many years, you previously had to invoke this action from the Services submenu.
Faster Icon View Zoom Controls
- You can now enlarge the size of images in Icon view using the Command+ keyboard shortcut.
- You can now shrink the size of images in Icon view using the Command- keyboard shortcut.
Bug Fixes
- Fixed rare crash related to Icon view reloading when restoring directory state.
- Workaround fix for a bug in macOS that could cause a crash when viewing files in iCloud.


